
You are standing in the basement after a hard rain. The floor is dry, the furnace is quiet, and you are ready to call the house sound. I used to write checks for problems like this. Now I write about them so you can look closer first. This home inspection checklist focuses on the defects that turn into expensive claims, not cosmetic issues that simply look untidy.
A professional inspection is still valuable, especially before buying. But an inspector may spend only a few hours at the property, and some areas can be inaccessible because of furniture, stored boxes, snow, or locked panels. Use this guide during your own walkthrough, then bring clear questions to the inspector and seller.
Start outside: roof, gutters, and grading
Begin at the street and walk around the entire house. Look for shingles that are missing, curled, cracked, or covered with dark patches. A roof does not need to be visibly falling apart to leak. In one claim I reviewed, a small flashing failure above a bedroom allowed water into the attic for months. The repair eventually involved insulation, drywall, flooring, and repainting, costing more than $9,000. The flashing itself would have been a much smaller problem.
From the ground, check whether gutters sag, overflow marks stain the siding, or downspouts discharge beside the foundation. Water should move away from the house rather than collect at the base. Depressions in the soil, standing water, and cracks in foundation walls deserve attention, particularly after rain. A hairline crack that stays dry is different from a widening crack with dampness or powdery residue.
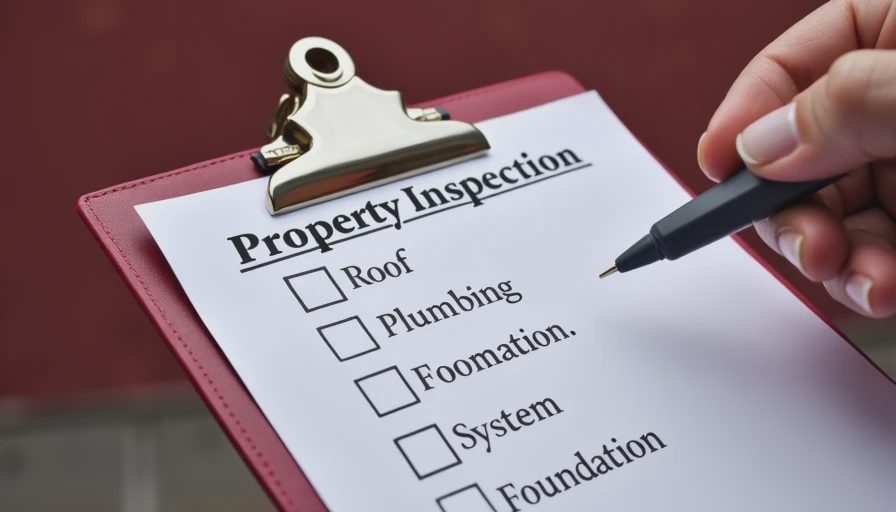
Also inspect exterior caulking around windows and doors, loose siding, damaged trim, and soft areas near decks. Do not climb onto a roof during a casual walkthrough. Photograph anything questionable and ask a qualified professional to evaluate it. A home inspection checklist is useful because it keeps your attention on water entry, the most common route from a minor defect to major damage.
Follow the water inside
Inside, look under every sink, around toilets, behind the washing machine, and near the water heater. You are looking for active drips, swollen cabinet bottoms, rust, mineral deposits, and flooring that feels soft underfoot. A dry surface does not prove the plumbing is healthy; a slow leak can evaporate before it forms a puddle.
Pay special attention to toilet tanks and supply connections. I once handled a claim involving a toilet that appeared normal but had been sweating against the floor for months. The subfloor absorbed the moisture, and the final bill reached about $8,600 after removal and drying. If you see a damp ring, warped flooring, or a musty smell, treat it as a same-week question rather than a future maintenance item.
Check ceilings and walls below bathrooms, kitchens, and roof valleys for yellow stains, bubbling paint, or fresh patches. Use your nose as well as your eyes. Persistent mustiness in a basement, crawlspace, or cabinet can signal moisture even when no water is visible. Ask when the water heater was installed and whether prior leaks were repaired or merely painted over.
Inspect the electrical and safety basics
You do not need to remove an outlet cover to find useful clues. Look for loose receptacles, cracked plates, scorch marks, extension cords used as permanent wiring, and outlets near sinks that lack obvious ground-fault protection. Flickering lights, warm switches, or a burning-plastic odor should be evaluated promptly by an electrician.
Open the main electrical panel only if it is safe and accessible, and do not touch wiring. Look for labels that make sense, signs of water intrusion, corrosion, or an overcrowded panel. Older homes can be perfectly serviceable, but an inspector should identify outdated components and unsafe modifications before you make an offer.
Test smoke alarms and carbon monoxide alarms where permitted, and confirm that bedrooms have appropriate egress windows. These items are inexpensive compared with the consequences of missing them. This home inspection checklist is not a substitute for a licensed electrical evaluation; it is a way to identify questions before a hidden problem becomes an emergency.
Check heating, cooling, and ventilation
Run the heating and cooling systems briefly, even if the season makes one uncomfortable. Listen for grinding, rattling, delayed startup, or repeated cycling. Compare the temperature at several vents and notice whether airflow is weak in one room. Ask for service records and the approximate installation date. A furnace that has not been serviced for years is not automatically defective, but it deserves a closer look before closing.
Inspect the furnace area for rust, water stains, blocked vents, and stored materials too close to the equipment. Look at the condensate line and the area around the air conditioner for signs of overflow. In a finished basement, a backed-up condensate drain can damage flooring and drywall before anyone notices. Ventilation matters too: bathrooms should clear moisture, and attic insulation should not block intended airflow.
The right decision depends on condition, not age alone. A 12-year-old system with good service records may be a better risk than a newer unit that has been neglected. Get a repair estimate when the inspection identifies a specific issue instead of demanding replacement based solely on the calendar.
Use the home inspection checklist to prioritize repairs
Not every defect deserves the same response. A missing handrail, active leak, exposed electrical issue, or failing heating system belongs near the top of the list because it affects safety or can cause rapid damage. A cracked interior door or dated countertop can wait. I have seen buyers spend thousands correcting appearances while overlooking a gutter that was sending rainwater directly toward the foundation.
Ask for the cost and urgency of each item in plain language. “Monitor” should mean you know what change would trigger action. For example, a narrow, dry foundation crack may be documented and reviewed after the next heavy rain. New moisture, widening, displacement, or a crack wider than a credit card calls for faster professional evaluation.
For a purchase, keep inspection, repair, and replacement estimates separate. A $400 plumbing repair is not the same negotiation as a $12,000 roof replacement. Sellers may address safety defects, offer a credit, or decline; your job is to understand the risk before committing. This home inspection checklist helps create that conversation without turning every imperfection into a crisis.
A practical walkthrough before you sign
Take photos, record the location of each concern, and revisit the property after rain if the schedule allows. Ask who repaired previous damage, when it happened, and whether permits or invoices exist. Compare the inspector’s report with your observations rather than assuming a long report means a dangerous house. Most homes have maintenance items; the important question is whether water, fire, structural movement, or unsafe equipment is involved.
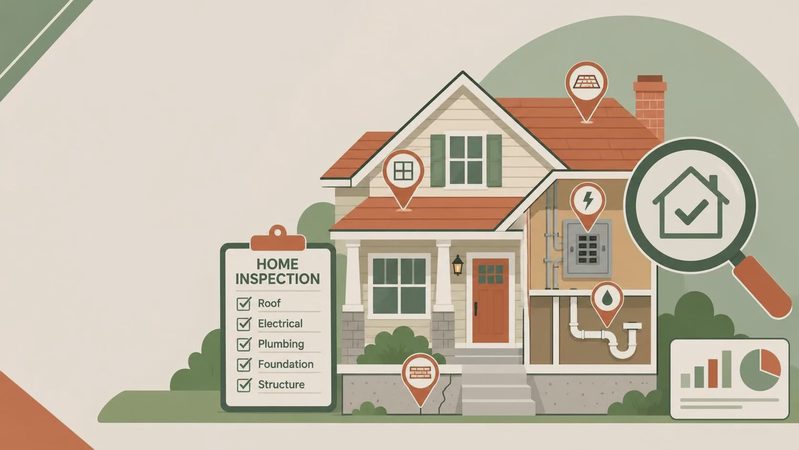
Before leaving, review the roofline, basement, attic access, mechanical room, bathrooms, kitchen, panel, and exterior drainage once more. Put urgent findings in one column and ordinary maintenance in another. That simple separation often saves a buyer from making an emotional decision based on paint color while missing a costly moisture pattern.
A ten-minute check today saves a ten-thousand-dollar call tomorrow. Use this home inspection checklist on your next walkthrough, photograph the items you cannot explain, and get the right professional involved before a small warning becomes your next claim.

No comments yet.