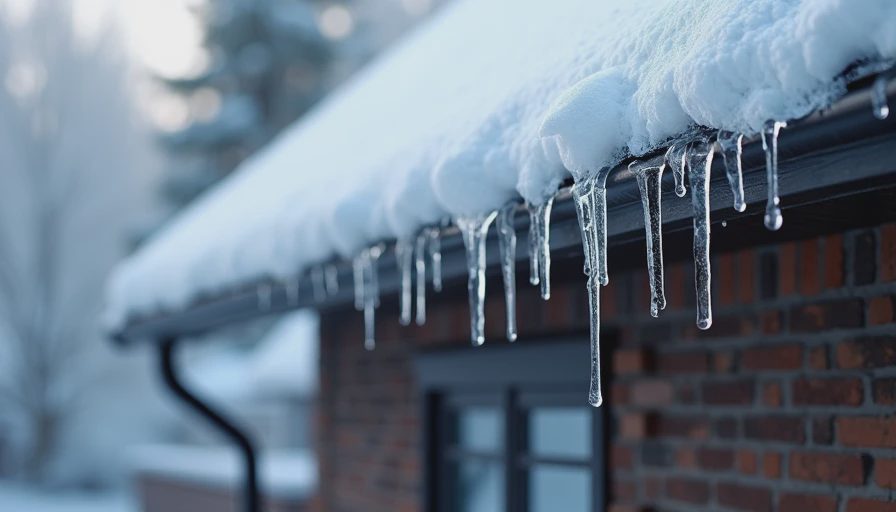
Colorado winters are beautiful — until that heavy snow sits on your roof just right and decides to cause thousands in water damage. After handling hundreds of ice dam claims during my adjusting years, I can tell you this with confidence: snow itself is rarely the problem. Icicles and ice dams are.
Here’s how to tell the difference and what to do about it.
Snow vs Ice Dams — The Basic Physics
Snow on a roof is normal. It insulates the house somewhat. The problems start when heat from inside the house melts snow on the roof, the water runs down to the colder eaves, and then refreezes.
That cycle creates ice dams — solid ridges of ice along the edge of the roof that trap melting snow behind them. When that trapped water finds a way under shingles, it leaks into your attic and walls.
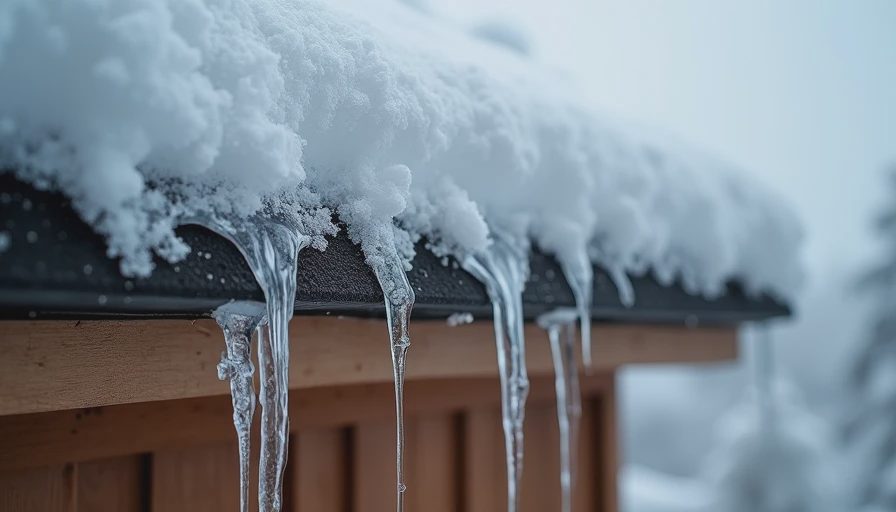
Icicles are the visible symptom. They’re not just pretty winter decorations. They’re evidence that water is melting and refreezing at the edge.
Warning Signs That Mean Action
Long, thick icicles hanging from the eaves (especially if they’re on only one side of the house)
Snow melting rapidly on the roof while temperatures are below freezing
Water stains on interior ceilings near exterior walls
Ice building up in gutters or along roof edges
Overhanging snow that looks ready to slide
If you see these, you have an ice dam situation developing.
What Actually Causes Ice Dams
The root cause is almost always heat loss through the roof, combined with poor attic ventilation or insufficient insulation. Warm air escapes, melts snow unevenly, and creates the perfect conditions for ice dams.
Other contributors:
Inadequate attic insulation
Poor ventilation (trapping heat)
Blocked soffit vents
Gutters full of debris
Roof design with many valleys or complex architecture
Prevention Steps That Actually Work
Before winter hits:
Improve attic insulation to recommended levels
Ensure proper ventilation (intake and exhaust)
Clean gutters in fall
Consider heated roof cables or tapes in problem areas (installed correctly)
During winter:
Remove snow from the roof edge only if safe (long snow rake from the ground)
Never use an axe or hammer on ice dams — you’ll damage shingles
Clear gutters and downspouts when possible
Keep attic access points clear for monitoring
Real Claim Numbers
Ice dam claims were some of the most frustrating ones I handled. Average payout after deductible: $4,000–$12,000 depending on how much drywall, insulation, and flooring got ruined. Many policies have specific limitations on ice dam damage, so prevention is your best insurance.
I’ve seen beautiful homes with brand new kitchens ruined by water pouring down from an attic ice dam. The fix was always more expensive and disruptive than prevention would have been.
My Winter Roof Philosophy
I check our roof edges regularly during winter walks. The kids think it’s funny when Dad gets out the snow rake, but they understand after I explain how water in the attic is bad news.
A ten-minute check today saves a ten-thousand-dollar call tomorrow. During winter, that check might be walking around the house after a big snow and looking up at the eaves.
Snow is fine. Your roof is built for it. Ice dams are not fine. They’re a symptom of heat and ventilation issues that need attention.
Next big snowstorm, take a careful look at your roof edges. See icicles forming? That’s your cue to investigate the attic and insulation situation before spring thaw reveals the damage.
Stay safe and dry this winter, friends. Your attic (and ceiling) will thank you.
If you’re currently dealing with ice dams or have a war story from past winters, share in the comments. We’ve all been there.



No comments yet.