I used to write checks for frozen pipe claims. Now I write about how to prepare pipes for winter so you don't need the check. In eight years as a property claims adjuster, I processed over 200 burst pipe claims. The average payout was just under $9,000. The worst one — a second-floor bathroom supply line that froze while the family was on a Christmas trip — came to $38,000 after water traveled through three floors and the drywall crew carved out half the first floor.
The thing that bothered me most: nearly every one of these claims was preventable. Not in the hypothetical way, but in the "a ten-minute check today saves a ten-thousand-dollar call tomorrow" way. So let me walk you through how to prepare pipes for winter — the way I wish every homeowner did before that first freeze.
Why Frozen Pipes Are a Bigger Problem Than You Think
When water freezes, it expands by about 9%. In a closed pipe, that expansion doesn't go anywhere — it pushes against the pipe walls until something gives. Copper pipes typically split at the seam. PEX pipes can swell and burst at fittings. CPVC shatters like glass. And once the pipe cracks, the thaw releases a flood.
Here's the pattern I saw in claims: the homeowner didn't know anything was wrong until they got home from work and heard water running inside a wall. By that point, the pipe had been spraying for hours. The average claim included $3,000 in water extraction and drying, $4,000 in drywall and insulation replacement, and $2,000 for repainting and trim. That's not counting the deductible and the headache of living in a construction zone.
My rule: if any part of your home touches outdoor air — an uninsulated crawlspace, an attic, an exterior wall — those pipes are vulnerable. The question isn't whether they might freeze. The question is when the temperature drops low enough for long enough.
The Two Most Common Pipe Freeze Scenarios
After reviewing hundreds of claims, two situations caused the majority of frozen pipe damage.
Exposed Pipes in Unheated Spaces
Basements, crawlspaces, attics, and garages are the usual suspects. If those spaces aren't conditioned — meaning no heat registers or ductwork — the temperature inside can drop to match outdoor temps within a few hours. I once inspected a house in December where the crawlspace was 18°F while the living room was 72°F. The water supply line to the kitchen sink ran right through that crawlspace. The homeowner couldn't figure out why the faucet was trickling. The pipe had a thin layer of ice inside, narrowing the flow. A week later, it burst.
Pipes Against Exterior Walls
Even inside heated space, pipes that run along exterior walls can freeze if the wall cavity lacks insulation. I see this most often in kitchens and bathrooms on north-facing walls. The pipe is on the warm side of the insulation, but if the insulation is missing or compressed, cold air from outside can reach the pipe. The fix isn't complicated, but it requires either adding insulation or keeping the cabinet doors open to let warm air circulate.
The Quickest Pipe Prep Checklist
I'm a checklist guy. I keep one taped to the inside of my basement door. Here's what it covers for how to prepare pipes for winter — do this before the first hard freeze in your area.
1. Insulate Exposed Pipes
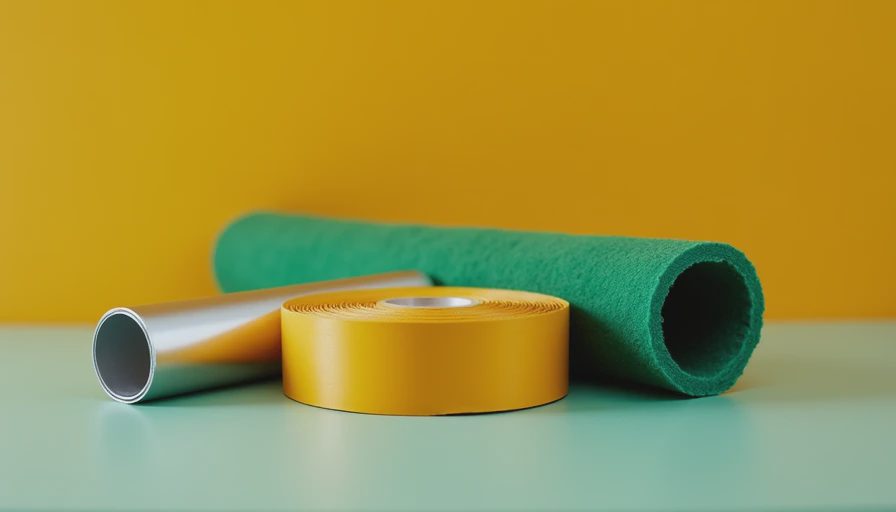
Wrap any pipe in unheated areas with foam pipe insulation. The foam sleeves cost about 50 cents per foot. For pipes in crawlspaces or attics, use the thicker, rubber-style insulation rated for R-3 or higher. Don't forget elbows and fittings — use mastic tape or zip ties to secure the insulation.
2. Seal Air Leaks
Cold air doesn't need much of a gap. A gap around a pipe where it enters the house is like leaving a window cracked. Use spray foam or caulk to seal holes where pipes pass through floors, walls, and foundations. This also helps with your heating bill.
3. Drain Outdoor Spigots
Shut off the valve inside the house that feeds the outdoor hose bib. Then open the outdoor spigot to let any water drain out. Leave it open through winter. If you have a frost-proof spigot, make sure the pipe slopes downward so water drains completely.
4. Keep a Trickle Running
When temperatures drop below 20°F for more than six hours, open a faucet on the highest level of the house to a slow trickle. Moving water freezes at a lower temperature than standing water. Even a pencil-thin stream is enough. The small water bill is a bargain compared to a burst pipe.
5. Open Cabinet Doors
Kitchen and bathroom cabinets on exterior walls can trap cold air inside. Opening the doors lets warm room air circulate around the pipes. If the room is already warm enough, this step alone may prevent freezing.
6. Set the Thermostat Consistently
Do not drop the thermostat below 55°F at night or when you're away. I've seen claims from homeowners who turned the heat way down to save money on a vacation. The savings aren't worth the risk. If you're leaving town for more than a day, set it to at least 55°F and ask a neighbor to check the house daily.
How to Know If Your Pipes Are at Risk
You don't need to guess. Here are the thresholds I use when inspecting my own house.
- Outdoor temperature forecast: below 20°F for 6+ hours
- Unheated space temperature: below 40°F (use a thermometer or inexpensive remote sensor)
- Water pressure suddenly drops or faucet sputters? That's ice forming inside the pipe. Leave that faucet dripping and call a plumber if the flow doesn't improve.
- Pipes that have frozen before are likely to freeze again unless something changes.
If you notice frost on an exposed pipe, you have a narrow window. Thaw it gently with a hair dryer (never a torch). Start from the faucet end and work toward the frozen section. If you can't find the frozen spot or the pipe has already burst, shut off the main water valve and call a plumber.
When to Call a Plumber vs. DIY
Most of how to prepare pipes for winter is DIY. Insulating pipes and sealing drafts are straightforward. But there are two times I recommend calling a pro.
First, if you have pipes in an unconditioned attic or crawlspace that are hard to reach, a plumber can insulate them properly and install heat tape if needed. Heat tape costs about $50 and can be wrapped around pipes with a thermostat that activates below 38°F.
Second, if you're planning to winterize a vacant property (cabin, vacation home, rental), it's worth paying a plumber to drain the entire system and blow the lines with compressed air. A missed pocket of water can destroy an empty house. I've processed claims for cabins where the owner thought they'd drained the system but a tiny trap or low point held water. The damage was always total.
The Bottom Line
Frozen pipes are one of the few home disasters that are almost entirely preventable. The work takes an afternoon and maybe $50 in materials. The alternative — a $9,000 average claim and a week of dryers running in your living room — isn't something you want to experience.
Now go walk your basement. You have ten minutes.

No comments yet.