
You are standing in the basement after a hard rain. The floor is dry, so you start to relax. Before you walk upstairs, use this diy home inspection checklist and look at the ceiling, foundation walls, sump pump, and utility penetrations. Water often shows up where you are not expecting it. I used to write checks for this. Now I write about it so you do not need the check.
A home inspection is not about finding a hundred reasons to panic. It is about separating harmless wear from a small warning that deserves attention this week. Walk slowly, take photos, and record what you see. You are looking for changes, moisture, movement, heat, smells, and sounds. Do not open electrical panels, climb onto a steep roof, enter unsafe crawlspaces, or touch damaged wiring. Detection is useful; risky repair work belongs to a qualified professional.
Start Outside: Roof, Gutters, and Drainage
Begin at the street and look at the roofline. Missing or curled shingles, dark patches, exposed underlayment, and metal flashing that has pulled away are all worth documenting. You do not need to climb up to see a problem. Binoculars or a camera with a zoom lens are safer and usually sufficient for a first pass.
Check gutters for sagging, separated joints, heavy plant growth, and overflow stains beneath the edges. Downspouts should discharge several feet away from the foundation, not beside it. A downspout that dumps water at the wall can contribute to basement dampness, soil movement, and foundation cracks. Moving an extension is usually inexpensive; dealing with a saturated basement and damaged flooring is not.
Look at siding, trim, window frames, and exterior doors. Soft wood, peeling paint, gaps around penetrations, and staining below windows can point to slow water entry. A crack narrower than a credit card may be monitored if it is stable and dry. A widening crack, a horizontal foundation crack, or water coming through the wall deserves a professional opinion soon.

Interior Water Checks That Matter
Inside, start under every sink. Feel the cabinet floor for swelling and look around shutoff valves, supply lines, and the drain trap. Do not assume a dry cabinet proves everything is fine; open the doors after the dishwasher runs or after someone has used the nearby bathroom. Toilet tanks can sweat in humid weather, while a loose connection can leave a slow ring of damage that takes months to become obvious.
Inspect ceilings below bathrooms, kitchens, laundry areas, and roof valleys. Yellow or brown staining, bubbling paint, soft drywall, and a musty smell are clues. A stain that is completely dry and has not changed for a year is different from one that grows after every storm. Photograph the area with a ruler or coin for scale, then write down the date and weather conditions.
Case file from my adjusting days: a family noticed a faint stain under an upstairs toilet and painted over it twice. Six months later, the subfloor and ceiling below needed replacement. The eventual claim was about $8,600. The original plumber visit would likely have cost a fraction of that. This is why the diy home inspection checklist starts with water, not cosmetic scuffs.
Mechanical Systems and Safety Signals
Look at the furnace, boiler, water heater, and air conditioner without removing covers. Record the age, fuel type, visible rust, corrosion, water around the base, and service tags. A water heater with a small puddle underneath is not a wait-and-see item. A furnace that makes a new banging, grinding, or rumbling sound should be evaluated before the heating season gets busy.
Check the electrical service area for scorch marks, buzzing, warm outlets, loose faceplates, and extension cords being used as permanent wiring. A tripped breaker is information, not an invitation to repeatedly reset it. If an outlet is hot, discolored, or smells burnt, stop using it and call an electrician.
Test smoke alarms and carbon monoxide alarms using their test buttons. Replace batteries or the entire alarm according to its age and manufacturer guidance. Make sure the home has alarms near sleeping areas and on each level. This is one of the few checks that can protect people immediately, not just the building.
Attic, Crawlspace, and Foundation Clues
If the attic is safe to enter, look for daylight through the roof deck, damp insulation, compressed insulation, stains around vents, and disconnected ductwork. Do not step between joists. A small stain beneath a roof penetration can be easier and cheaper to address than a broad leak along a roof slope, but both should be documented.
In the crawlspace, watch for standing water, sagging insulation, torn vapor barriers, wood rot, pest activity, and mold-like growth. Do not enter if the space is contaminated, unstable, poorly ventilated, or difficult to exit. Use a flashlight from the access opening and hire someone for the rest.
Foundation movement is best judged over time. Marking a crack with a date and photographing it can show whether it is changing, but it does not diagnose the cause. If doors suddenly stick, floors slope noticeably, or multiple cracks appear at once, schedule an evaluation rather than guessing.

What to Record and How Fast to Act
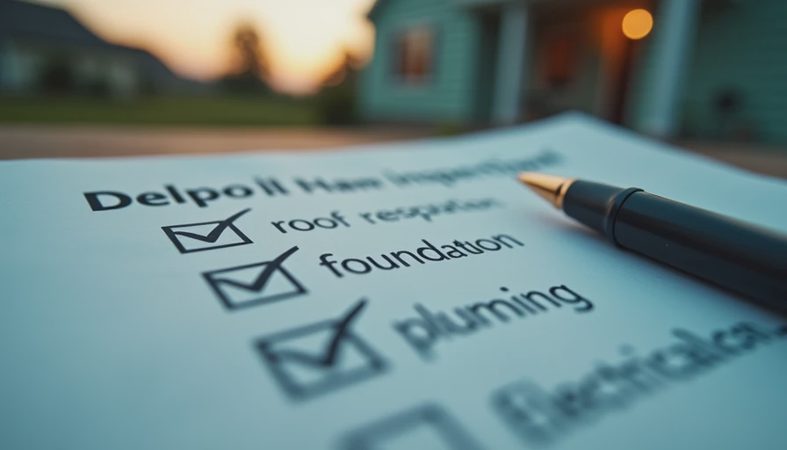
The best diy home inspection checklist is also a simple recordkeeping system. Create four categories: monitor, schedule within a month, call this week, and emergency. Monitor a stable cosmetic crack or a little peeling paint. Schedule a contractor for a gutter problem, aging furnace, or deteriorated exterior trim. Call this week for active leaks, wet electrical components, a failing water heater, or a roof leak that returns after rain.
Use photos, measurements, dates, and notes about weather. Include the system's approximate age and any previous repair invoices. This information helps a plumber, roofer, electrician, or insurance representative understand the pattern quickly. It also prevents the familiar homeowner mistake of remembering only that “it has always looked that way.”
Do not treat insurance as a maintenance plan. Sudden damage can be covered under a policy, while gradual wear, neglected leaks, and deterioration are often excluded. The most useful financial move is catching the problem before it becomes a claim. A $250 plumbing assessment can prevent thousands in flooring, drywall, and cabinet damage.
A Ten-Minute Monthly Walkthrough
Once a month, walk the exterior after rain and the interior below plumbing fixtures. Listen for new mechanical sounds, smell for dampness or burning, and look for changes rather than perfection. In spring, focus on gutters, roof drainage, and basement moisture. Before winter, check heating equipment, exposed pipes, and drafts around doors. In summer, watch for air-conditioner condensate leaks and clogged drainage.
I used to think small signs were mostly background noise, until field inspections proved how often they were the first chapter of an expensive claim. A ten-minute check today saves a ten-thousand-dollar call tomorrow. Use this diy home inspection checklist this weekend, photograph anything unusual, and put the most urgent item on your calendar before you forget it.


No comments yet.