How to Test a Circuit Breaker with a Multimeter
You flip a switch and nothing happens. The basement light stays dark. Before you call an electrician and pay a service call fee, learning how to test a circuit breaker with a multimeter can save you time and money. I've seen too many homeowners pay $200 for a house call only to find a tripped breaker they could have reset themselves. And I've seen the opposite: a bad breaker that kept tripping, ignored for months, until it finally arced and caused a $3,500 fire claim. A ten-minute check today saves a ten-thousand-dollar call tomorrow.
Why You Would Test a Circuit Breaker
Circuit breakers don't last forever. They can wear out, trip too easily, or fail completely. Common signs include: a breaker that trips frequently without an overload, a breaker that won't stay reset, or a circuit that has power on one leg but not the other (for 240-volt models). I had a claim file once where a homeowner reset a tripped breaker 14 times over three months before it finally melted the bus bar. The repair bill: $1,200 just to replace the panel section. A multimeter test would have caught it after the second trip.
Another scenario: you plug in a space heater and the lights dim, but the breaker doesn't trip. That could mean a loose connection or a failing breaker. Testing gives you a clear answer before you replace a perfectly good appliance.
What You Need for the Test
You need a digital multimeter that reads AC voltage (most basic models do, under $30 at hardware stores). Also: a flathead screwdriver to remove the panel cover, insulated gloves if you have them, and rubber-soled shoes. Safety is non-negotiable — you're working near live electricity. If you're not comfortable removing the panel cover, stop and call a pro. But if you've done basic electrical work before, this is straightforward.
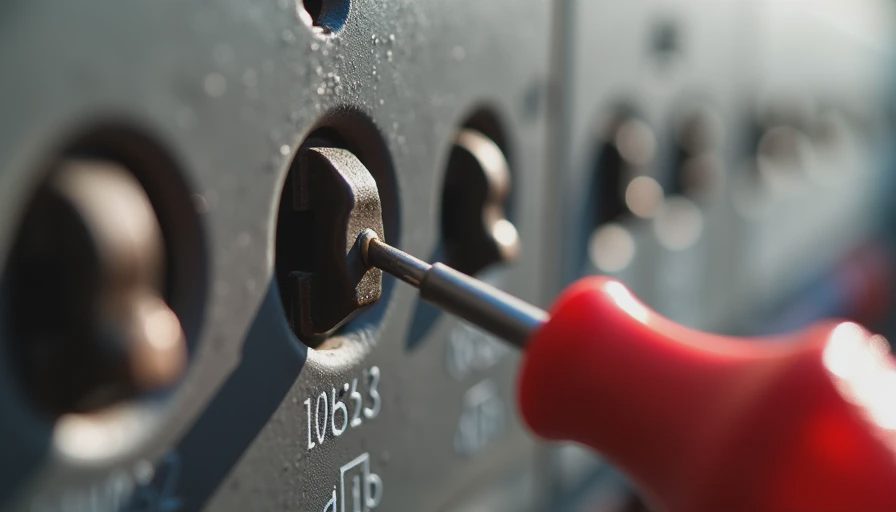
Step-by-Step: How to Test a Circuit Breaker with a Multimeter
I've done this test in attics, crawlspaces, and damp basements. The process is the same. Follow these steps carefully.
Step 1: Turn off the main breaker. Yes, the whole house. This kills power to the panel and makes it safe to remove the cover. Confirm with a non-contact voltage tester that the main lugs are dead (they aren't, actually — the main breaker only kills the buses, not the incoming lines, so don't touch anything above the main breaker).
Step 2: Remove the panel cover. Use your screwdriver to unscrew the cover. Set it aside. Now you can see the breakers and the bus bars.
Step 3: Turn the main breaker back on. You need power for the test. Stand to the side of the panel when you flip it on.
Step 4: Set your multimeter to AC voltage (V~) and select a range above 120V (usually 200V or 600V).
Step 5: Test a known good breaker first. Touch one probe to the screw terminal on a breaker that powers a working circuit (like a light you know works) and the other probe to the neutral bar (the silver bar with white wires). You should read about 120V. This confirms your meter is set correctly.
Step 6: Test the suspect breaker. Repeat the same process on the breaker that's causing trouble. Touch one probe to its screw terminal and the other to the neutral bar. Read the voltage.
Step 7: If you get 120V, the breaker is likely fine — the problem is elsewhere (a bad switch, fixture, or wiring). If you get 0V, the breaker is likely tripped internally or failed. Try resetting it fully (off then on) and retest. If still 0V, the breaker is bad.
For a 240V breaker (double-pole), test between the two screw terminals — you should read 240V. Then test each leg to neutral (120V each). If one leg reads 120V and the other reads 0V, the breaker is bad.
What the Readings Mean
- 120V on a single-pole breaker: Good. The breaker is delivering power.
- 0V on a single-pole breaker that's in the on position: Bad. Replace it.
- Low voltage (90-110V): Could be a loose connection or a breaker that's starting to fail. Tighten the screw on the breaker and retest. If it doesn't improve, replace the breaker.
- 240V across a double-pole breaker but one leg to neutral reads 0V: One side of the breaker is dead. Replace it.
I've seen breakers that read 120V but still caused problems under load. If your test shows good voltage but the circuit still acts up, the breaker could be weak — tripping too easily. In that case, swap it with an identical breaker from another circuit (same amperage). If the problem moves, the breaker is bad. If not, the issue is in the wiring.

When Testing Shows a Bad Breaker
If your multimeter confirms a dead or weak breaker, replacement is the fix. A standard 15- or 20-amp single-pole breaker costs $5 to $15 at a hardware store. A double-pole 30-amp breaker runs $10 to $30. If you're handy and comfortable with the panel — after shutting off the main breaker — you can swap it yourself in 15 minutes. If not, an electrician will charge $150 to $300 for the visit and labor. Still cheaper than a fire claim.
Here's the threshold I use: if you've never opened a panel before, call an electrician for the replacement. The test itself is low-risk, but swapping a breaker requires touching live lugs. That's where mistakes happen.
A Note on Safety
I'm a home inspector and former claims adjuster, not an electrician. This guide is for detection, not repair. If at any point you feel unsure, stop. Electrical work can kill you. The cost of a service call is cheap compared to a hospital visit or a house fire. But for the curious homeowner who wants to know how to test a circuit breaker with a multimeter before picking up the phone, the steps above will give you a clear answer. And the next time you're standing in a dark basement, you'll know exactly what to do.
Now go test that breaker. A ten-minute check today saves a ten-thousand-dollar call tomorrow.


No comments yet.