I used to write checks for water damage, roof leaks, and cracked foundations. Now I inspect houses for a living, and I keep a simple truth in my back pocket: most big claims start with something you could have seen with the right tools for home inspection. You don't need a van full of gadgets, but you do need a few specific ones.
I've walked through about 1,200 homes since leaving the claims desk. Most had at least one issue hiding in plain sight. You can catch those issues before they become claims if you know what to look for. So let me walk you through the tools for home inspection that actually earn their keep, and a couple that don't.
The Tools That Pay for Themselves
The first tool isn't fancy. It's a flashlight — but not the one on your phone. A proper high-lumen flashlight with a focused beam lets you see into attic corners, crawlspace edges, and behind appliances. Phone flashlights spread light too wide and leave you blind in the spots that matter. Spend twenty bucks on a decent one.
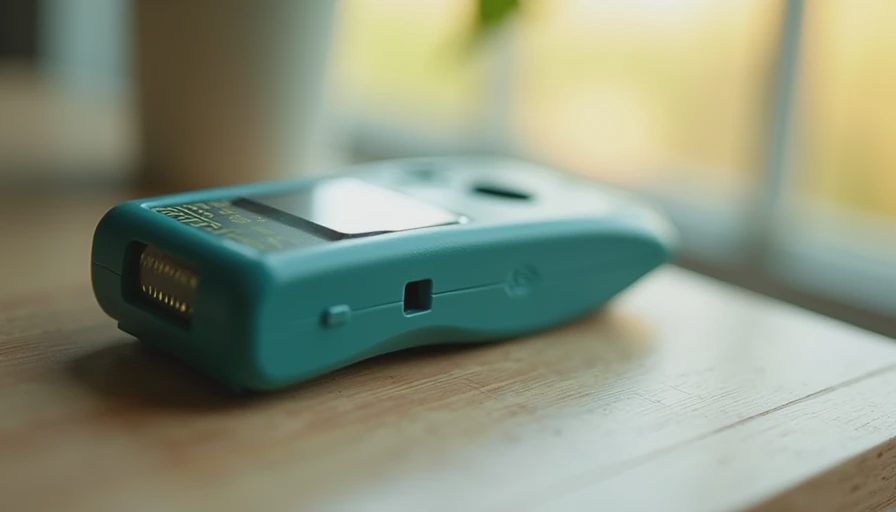
Next is a moisture meter. This is the one I'd put in every homeowner's hands. A pin-type moisture meter costs around $30 at any hardware store. It reads the moisture content of wood, drywall, and framing. Why does that matter? Because water stains on a ceiling are the end of a long story. A moisture meter tells you whether that stain is old and dry or actively leaking. That distinction changes everything. If it's dry, you can repaint next spring. If it's wet, you have weeks before mold and rot start compounding. I've seen a small toilet supply line leak go undetected for six months because nobody checked the baseboard near the toilet. That one turned into $8,600 in subfloor and vanity damage. A $30 moisture meter would have caught it in the first week.
The Tools for Home Inspection That Catch the Expensive Surprises
Now we get into the pricier stuff. A thermal imaging camera — or a thermal camera attachment for your phone — is the best way to find hidden problems. It shows temperature differences inside walls, ceilings, and floors. Cold spots in winter or hot spots in summer mean missing insulation, air leaks, or active moisture. Using tools for home inspection like a thermal camera lets you see problems before they show up as stains. A phone-mounted thermal camera runs $200 to $400. Is it worth it? For a homeowner, maybe not for a one-time check — but if you're looking at a new house or doing a seasonal sweep, it can save you from buying a money pit. I've walked into homes where sellers had patched a ceiling stain with fresh paint, but the thermal camera showed a cold, wet section the size of a beach towel. That's a roof leak hiding behind fresh paint.
Speaking of leaks, a simple infrared thermometer is another underrated tool. It's a point-and-shoot temperature gun. You can scan baseboards, walls, and window frames in minutes. If one corner is noticeably colder than the others, you've found an insulation gap or a draft. It costs about $20. It's a great starter tool if you're not ready to drop a few hundred dollars.
What a Pro Uses That You Can Borrow
Home inspectors and insurance loss control folks carry bigger tools that you can often rent for a day. A borescope — a flexible camera on a wire — lets you look inside wall cavities and behind baseboards. Many hardware stores rent them for $50 a day. That's cheap when you're trying to decide whether to buy a house or walk away.
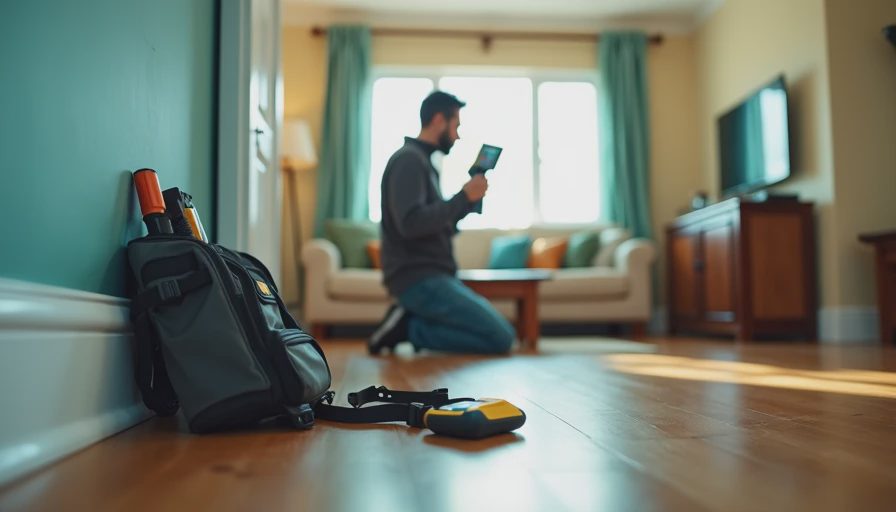
A smoke pencil is another tool. It emits a wisp of smoke so you can see air movement around windows and outlets. A dollar-store incense stick does the same job as a $40 smoke pencil. The goal is to find drafts that waste energy and invite moisture.
Here's the key point: the best tools for home inspection are the ones you actually use. A van full of equipment that gathers dust is useless. Start with the basics — flashlight, moisture meter, screwdriver (to pop open electrical panels), and a notepad. Then add as you learn what stresses your house.
The Tool Most Homeowners Forget
The most important tool isn't something you can buy. It's your sense of smell. Walk through your basement and breathe. Do you smell musty? Damp? That's the smell of elevated humidity, and it's often the first sign of a slow leak. I can't tell you how many claims I've adjusted where the homeowner said, "I didn't notice any stains." But the smell was there for months. Your nose is a legitimate part of your home inspection toolkit. Trust it.
Also pay attention to sounds. A toilet that runs for a few seconds after flushing, a furnace that hums louder than it used to, or a water heater crackling — these are early warnings. Fixing a running toilet is a $10 flapper. Ignoring it costs you water and, if it overflows, a damaged floor. Small signs, big bills.
The Bottom Line
You don't need a professional home inspection tool set to protect your house. You need a few targeted tools and fifteen minutes. For less than a hundred dollars, you can own a flashlight, a moisture meter, and an infrared thermometer. That combo will help you spot most early warning issues. If you're buying or selling a home, a thermal camera and a borescope are worth renting.
Pick one day this week and walk your house with your new toolkit. Start in the basement and work up. Check the corners, the floor/wall joints, and the ceiling below your bathroom. If you find a damp spot, don't panic. Time is on your side if you act now. A ten-minute check today saves a ten-thousand-dollar call tomorrow. Now go walk your basement. You have ten minutes.


No comments yet.